Getting Started with Arsenal
Step 1
Account Setup/Make a project
Create an Arsenal account and get your project ID:
- Go to arsenal-dev.com/auth
- Create a new account or sign in
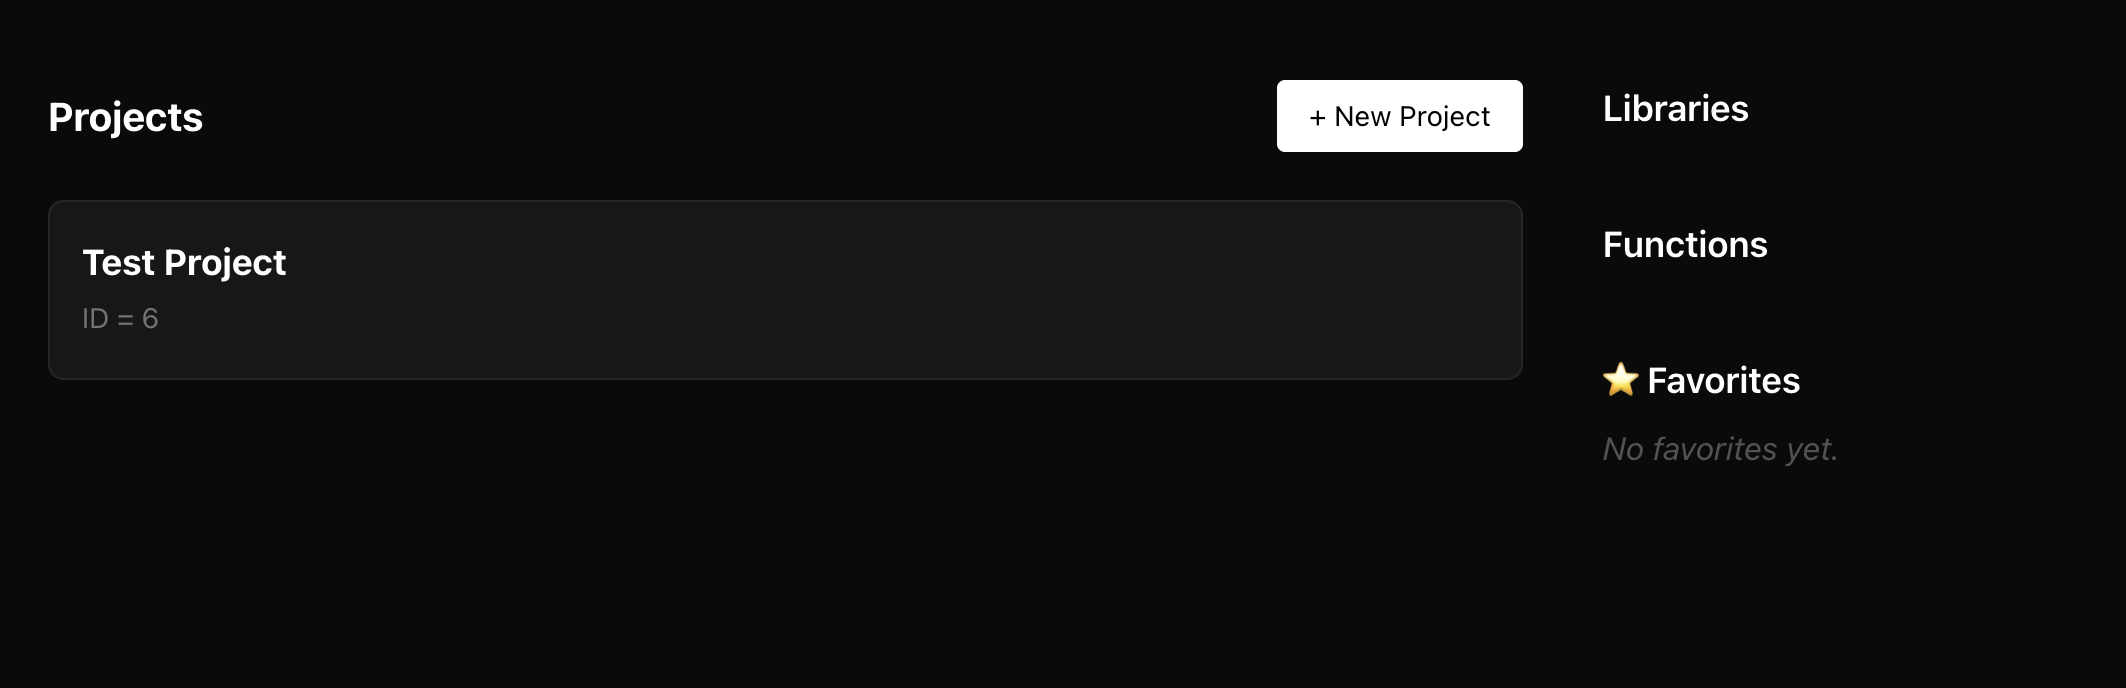
- Click New Project
- Copy your project ID from the dashboard -- Here, ID is equal to 6 -- you will need this ID for the next step
Step 2
Connect via CLI
In VS Code install the Arsenal CLI:
npm install -g arsenal-devInitialize arsenal in your terminal
arsenal initFill in email, password, and project ID from the dashboard.
This will:
- Create a .arsenal configuration folder
- Link your project to your Arsenal account
OPTIONAL - Link to your github repo
arsenal linkOPTIONAL - UN-Link from your github repo
arsenal unlinkStep 3
VS Code Extension Installation
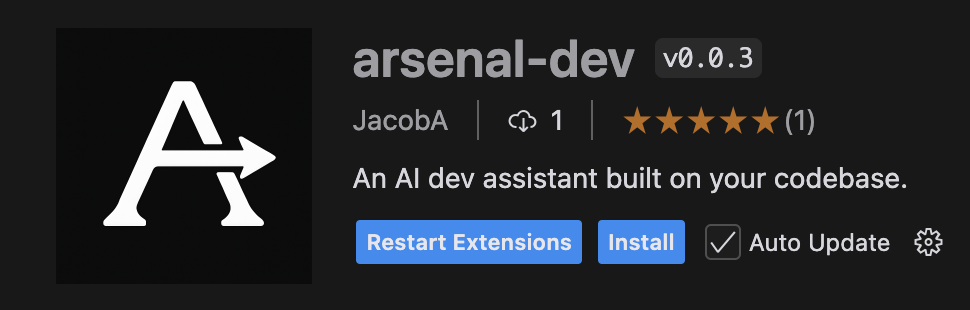
Install the Arsenal extension from the VS Code marketplace:
Or install directly through VS Code:
- Open VS Code
- Click the Extensions icon in the sidebar
- Search for "arsenal-dev"
- Click Install
Step 4
Log your first code snippet
Open the "Arsenal Search" panel
option 1
CMD + ALT + M(or Ctrl + Alt + M on Windows)option 2
CMD + SHIFT + P -- type/click "Arsenal Search"Here you can:
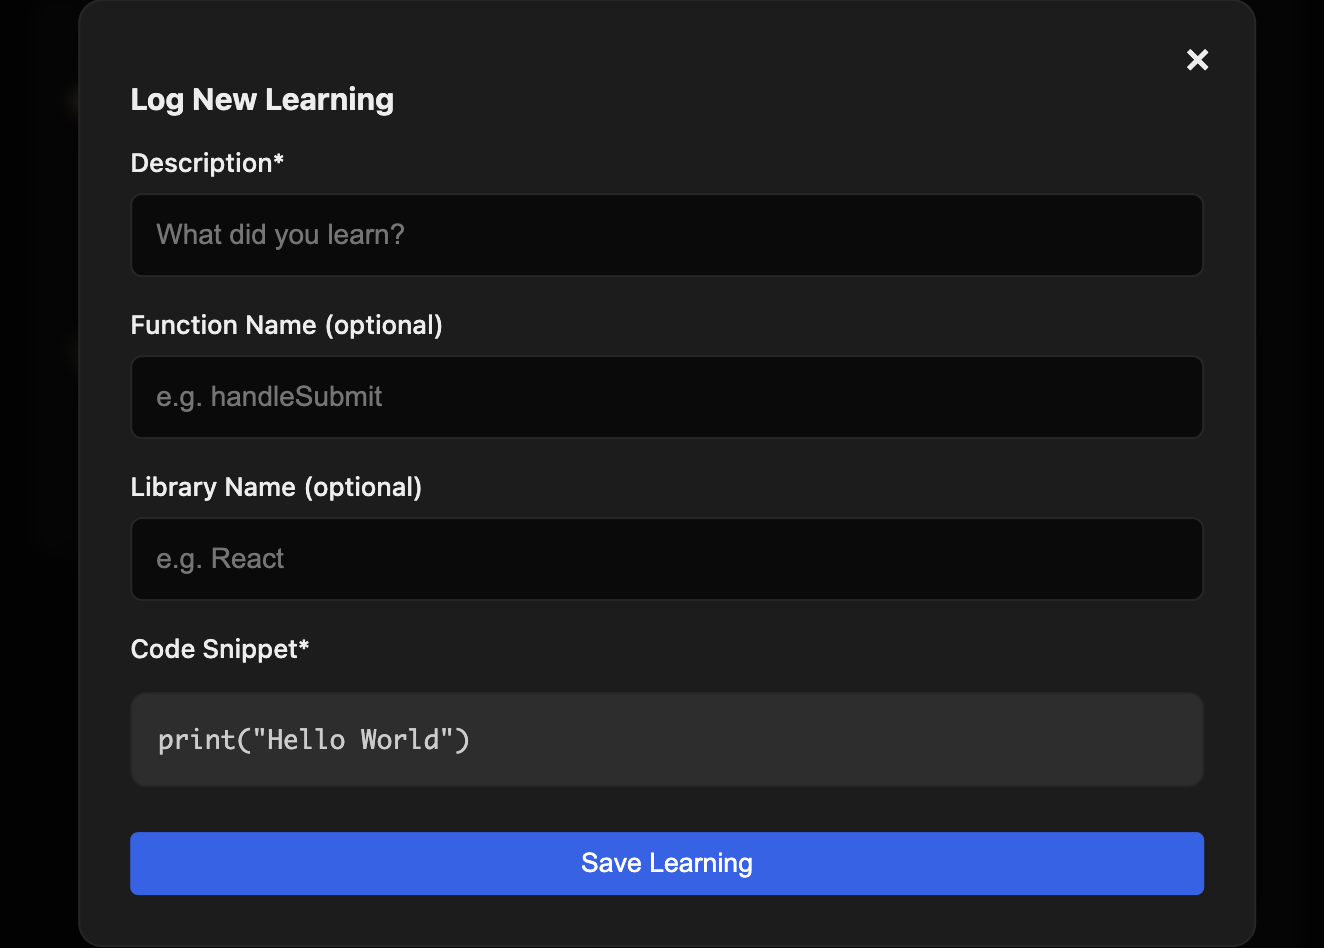
- 1: Select a piece of code you would like added to your arsenal.
- 2: Click "Log Learning" in the top left corner. Add a description, function name, and library name.
- 3: Your code snippets will be saved locally in a folder called "learnings" until you sync.
Step 5
Sync to Cloud
Push manually with the following command - Note if you have linked your github repo, this will sync automatically on push.
arsenal syncStep 6
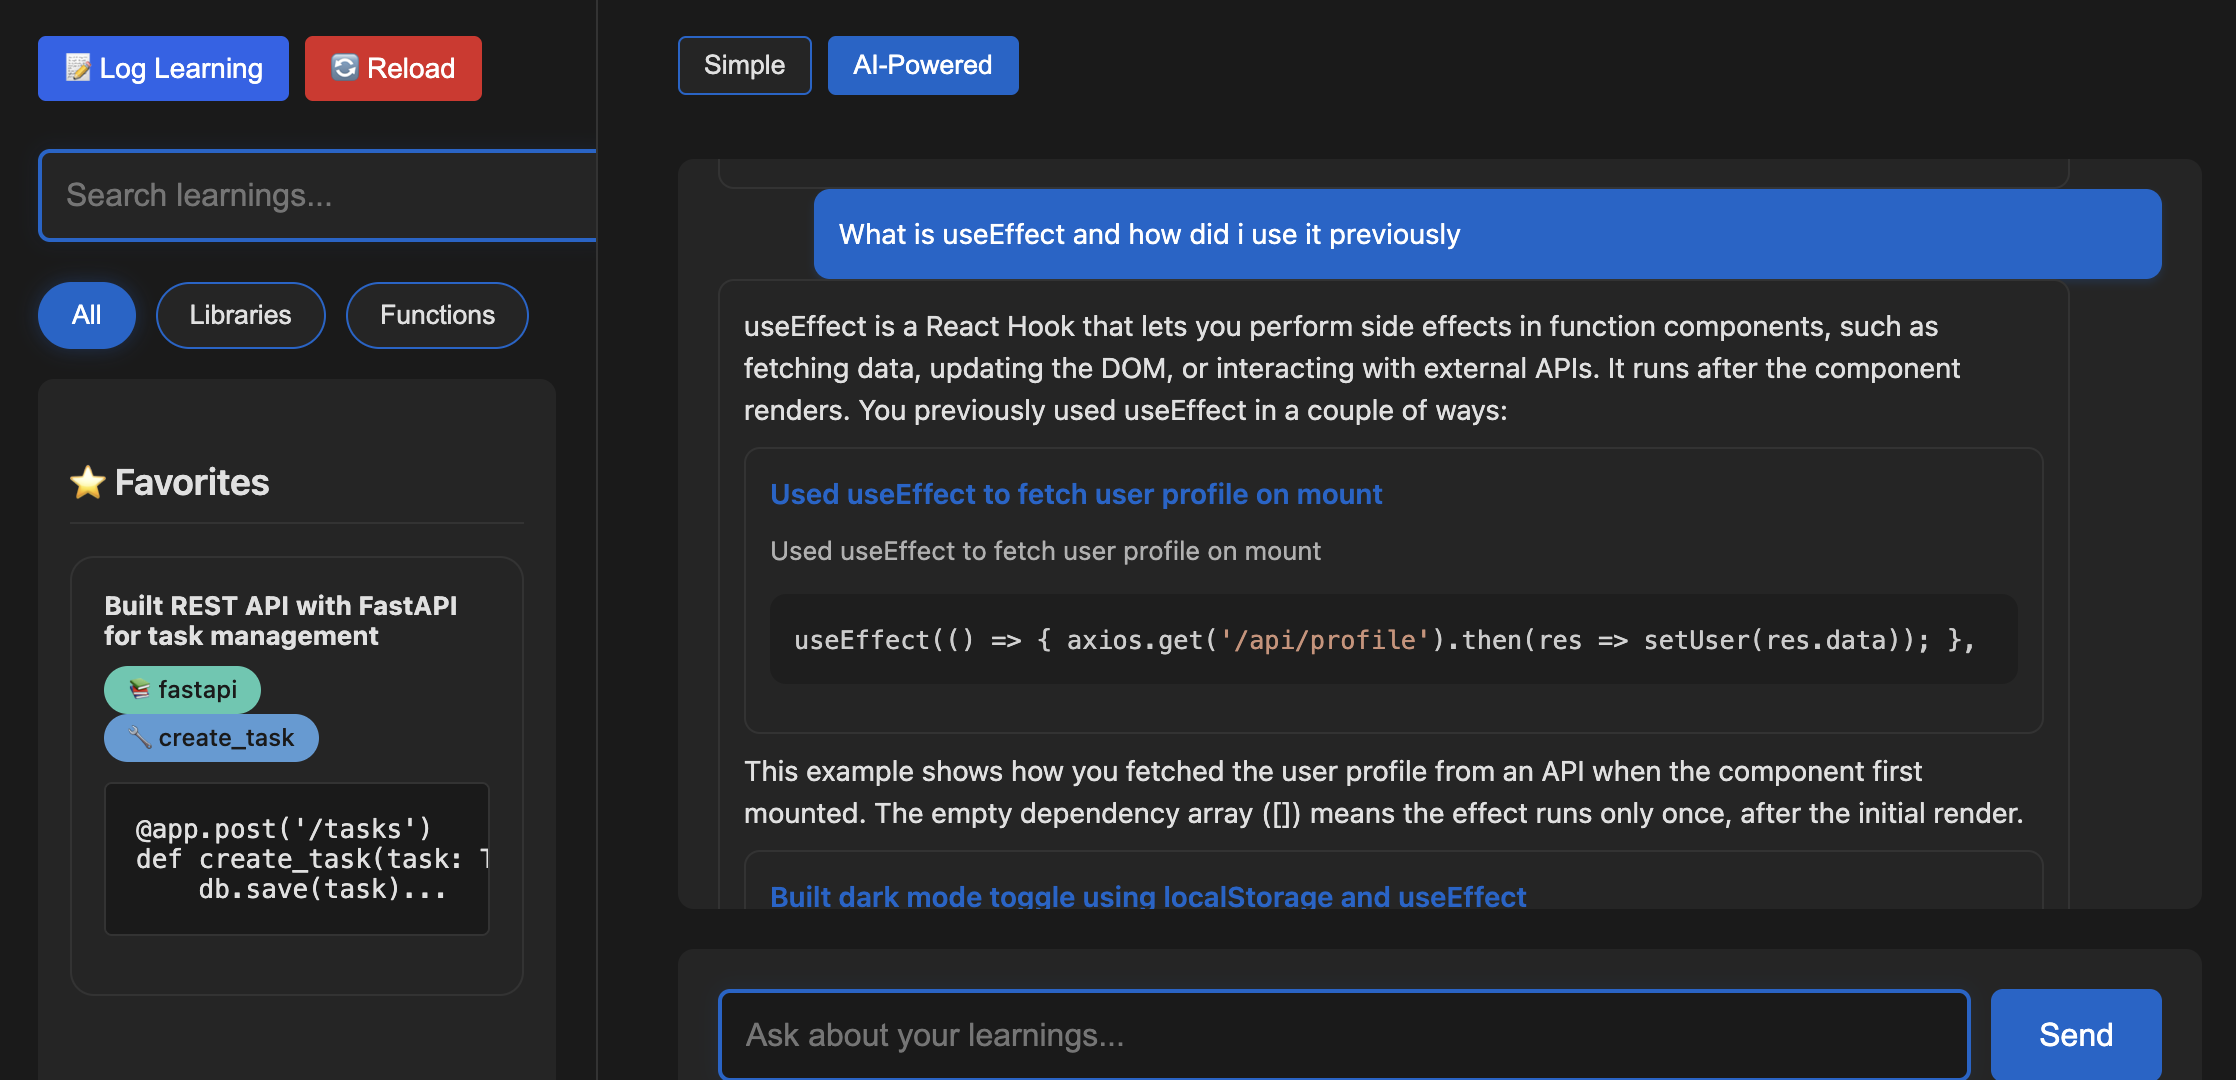
Now, use your new AI, built on your code arsenal
Access your learnings on arsenal-dev.com wi:
- Ask a question about your code
- Arsenal will USE YOUR CODE to answer your question
- Enjoy a more trusted, accurate code assistant
- Share learnings with your team (coming soon)
Step 6
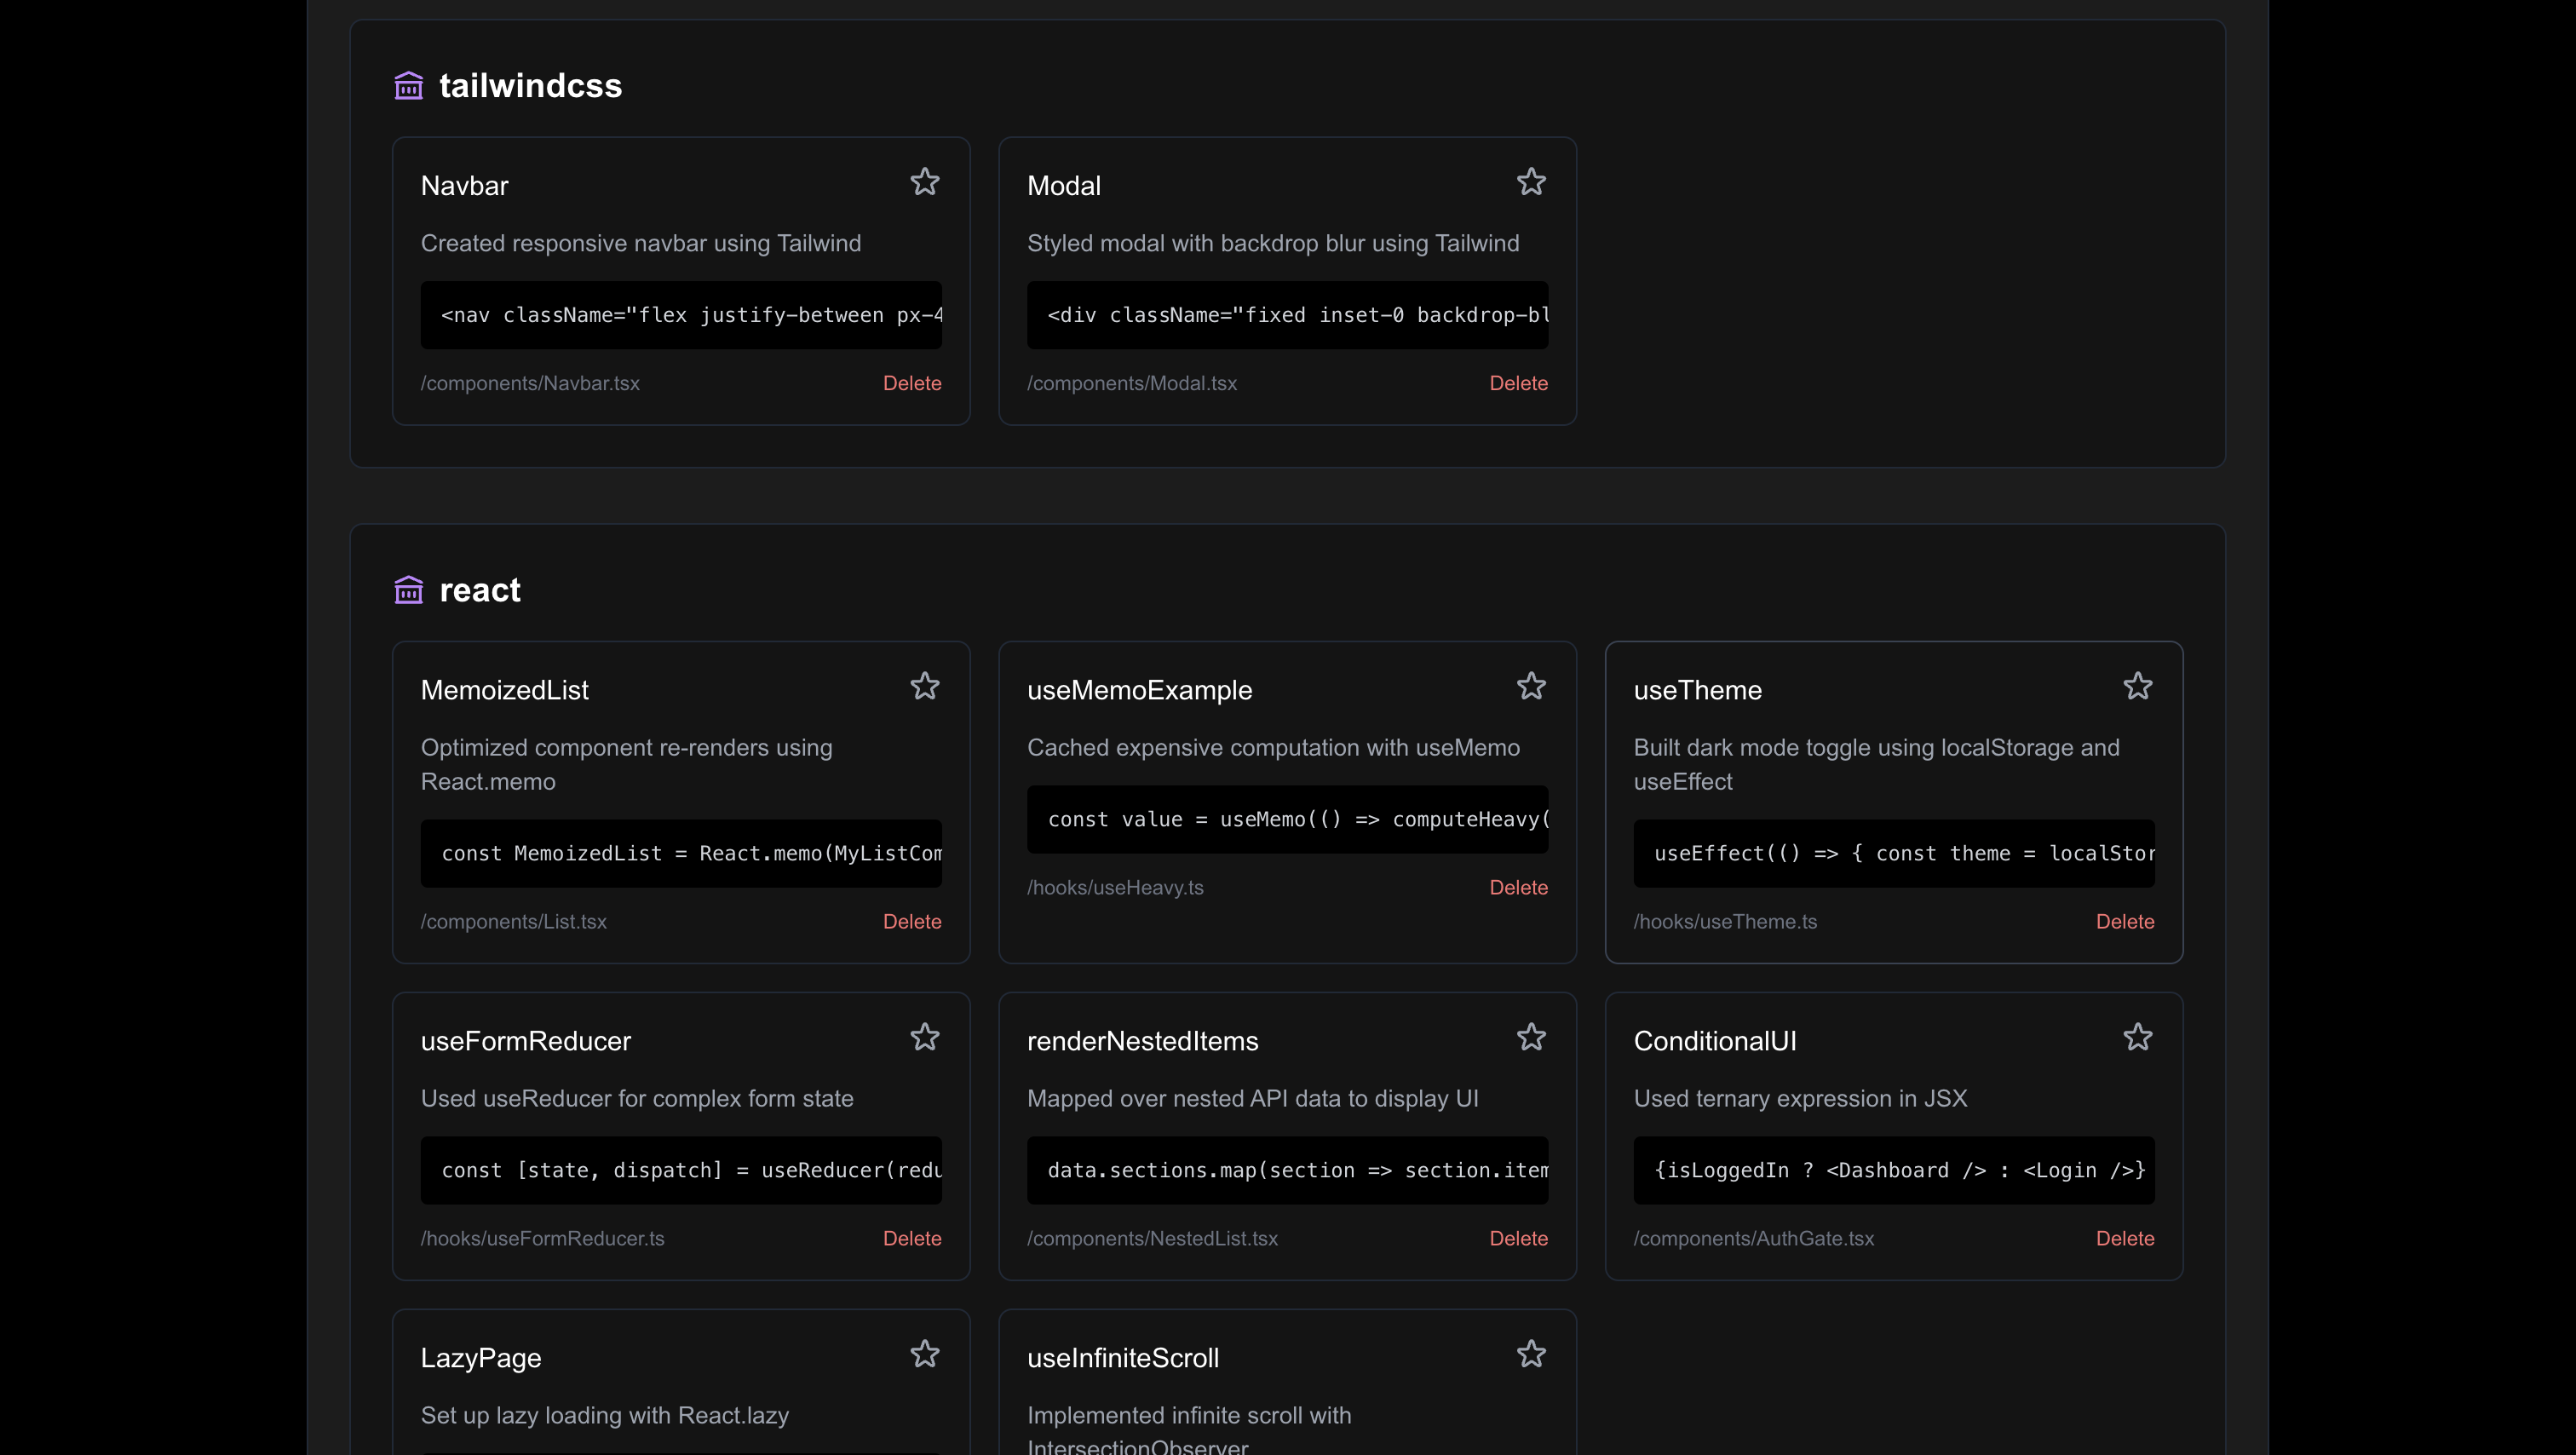
FOR ANOTHER VIEW - Using the Dashboard
Access your learnings at arsenal-dev.com to:
- Browse by project, library, or function
- Search across all your learnings
- Star important snippets for quick access
- Share learnings with your team (coming soon)
Need Help?
email jacobalbert2021@gmail.com